


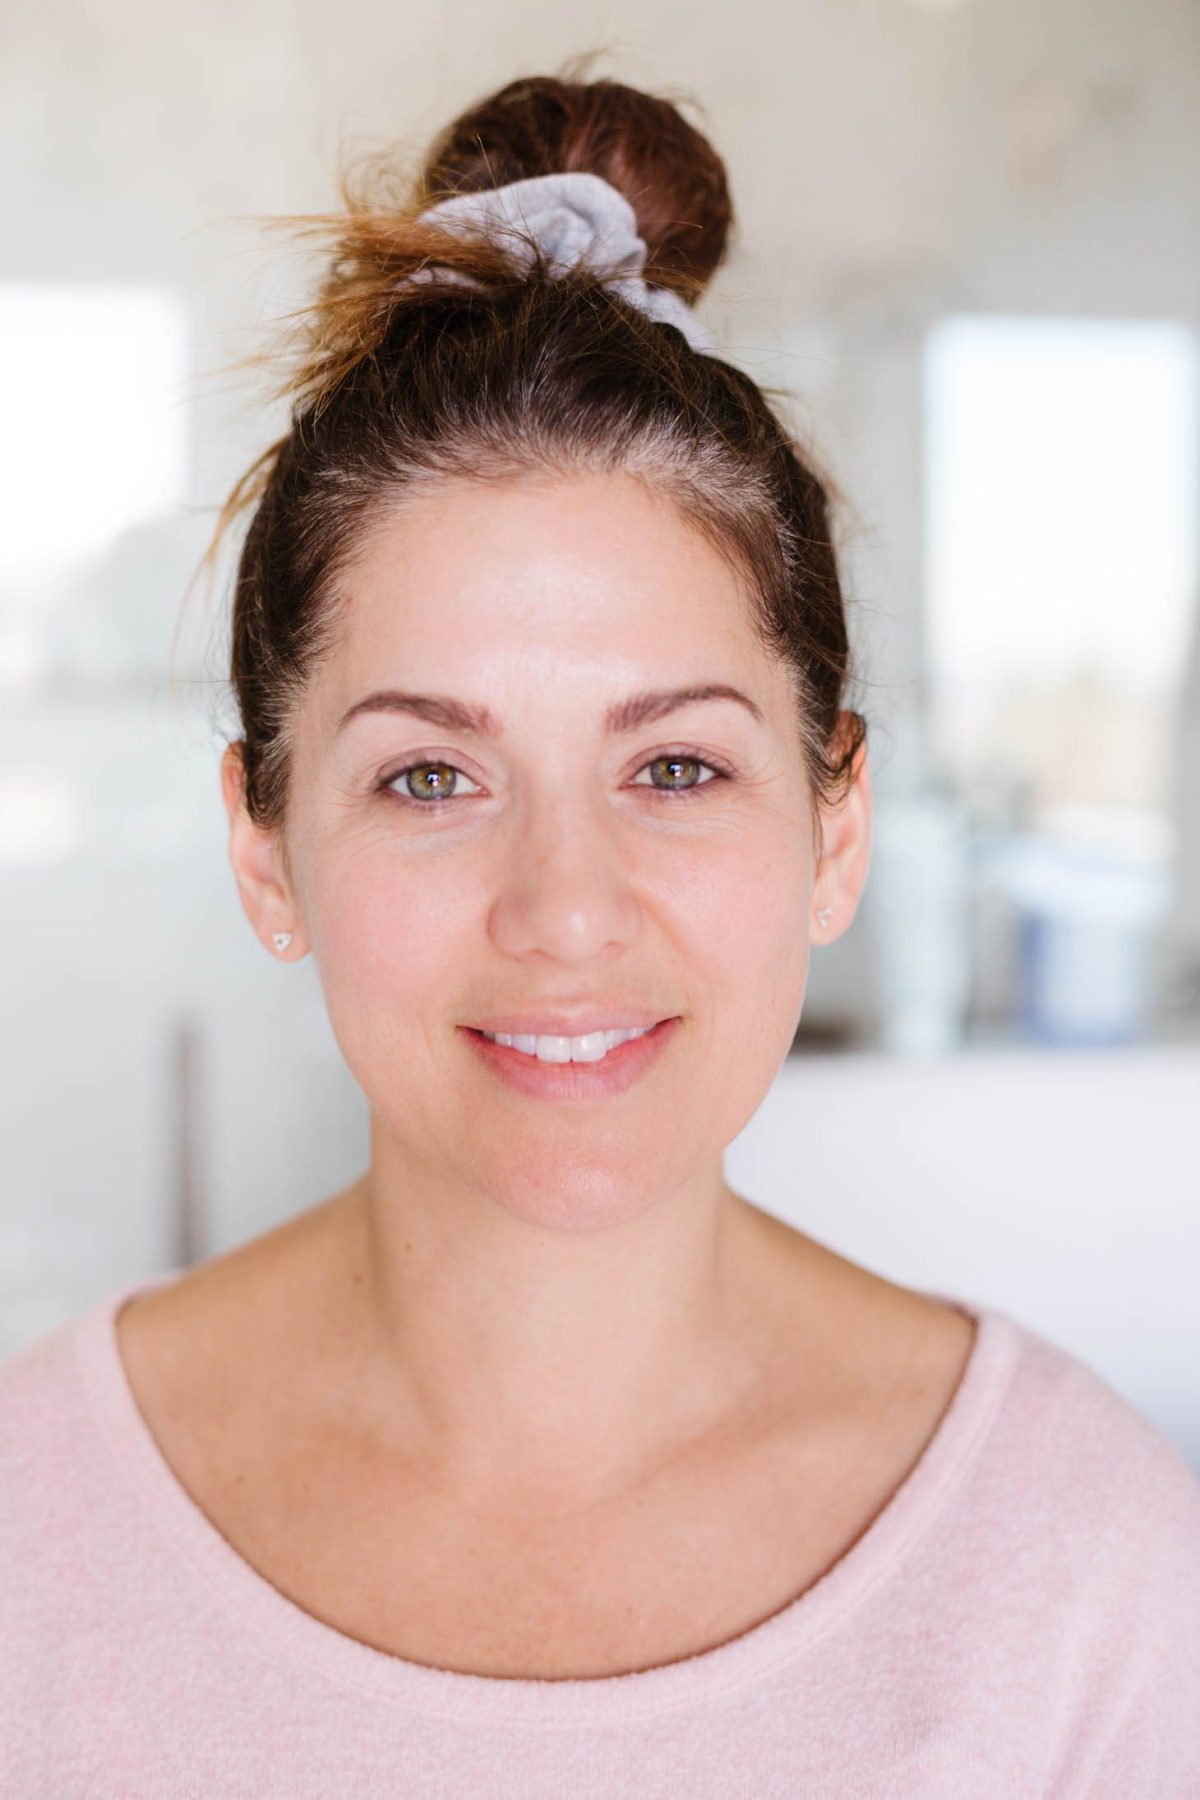
Kaitlin and I are SO EXCITED to finally share this tutorial with you today!! As many of you know, Kaitlin Hargreaves is my Makeup Artist on set of Love It Or List It and on our big shoot days! I’ve known Kaitlin for seven years now and she’s the only one that I trust to do my makeup … and tell me when I have spinach in my teeth! LOL!
For quite some time we’ve been asked by SO MANY of you for Kaitlin to do a tutorial on how she does my makeup, along with some of her favourite tips, tricks, and how-to’s … so, that’s EXACTLY what we’re sharing with you today!
Before you press play on the video below, make sure to bust out a coffee along with a pen and paper because I’m sure you’ll want to write a few things down! ALSO, make SURE to stick around to the very end of the video as Kaitlin is sharing her most important takeaway with you and it’s something you can start incorporating into your makeup routine today!
Ps. If you don’t have time to watch the video right now – scroll on by it and take a look at Kaitlin’s step by steps (in her own words!) below along with her favourite products! And THEN, when you have time, swing back here and watch the video because it’s so informative and prettyyyyy hilarious! LOL!
Prep
Hey everyone! Kaitlin here! Let’s start this off with prep! I make sure the skin is clean and then I apply moisturizer with my Beauty Blender – I love the Kiehl’s Ultra Facial Moisturizer as I find it gentle on the skin and works for pretty much any skin type.
If you haven’t heard of a Beauty Blender, it’s going to change your life…. it’s a little egg shaped sponge and it’s my secret weapon. If used properly, it will be the most useful tool in your makeup routine and you will use it in so many different aspects of the application. My reason behind applying a moisturizer with the Beauty Blender is it acts as a little product barrier so all your expensive concealers and foundations don’t get sucked up into the sponge!
Note* The Beauty Blender is ALWAYS used damp. Run it underwater and repeatedly squeeze it until it doubles in size – squeeze out the excess water with a towel or paper towel and you’re good to go! You will need to clean the sponge-like you would any makeup brush – but since you have to wet it daily to use it, you might as well give it a quick wash while you’re at the sink!

Eye Prep
I like to start with the eyes as I find things can get messy when doing eyeshadow etc and can ruin any makeup that’s already been applied to the face. I begin by concealing the upper eyelid – from lash line to brow bone. My favourite concealer is MAC Prolong Wear Concealer – I use a cool tone for the upper eyelid as I find that area to have a lot of redness. I apply the concealer with a brush and use my Beauty Blender to tap out and soften the edges.
Immediately after concealing the upper eyelid I powder that area. The Laura Mercier – Secret Brightening Powder For Under Eyes is my favorite for this as it doesn’t leave a chalky or powdery finish.
Then I take my trusty eyeshadow primer – Urban Decay Eyeshadow Primer Potion – and tap a very small amount of product onto the lid (1/4 of a pea size). Mostly focusing on the crease area and below. This product is going to stop your concealer from creasing as well as help your eyeshadow stay in place all day.
Eyeshadow
Once both ares are prepped you can begin eyeshadow. For Jill – I don’t do any fancy crease or use a multitude of colours. Her eyeshadow is quite simple and I focus more on liner and lashes. For her, I just use a little bit of a warm brown or taupe color and place it on her eyelid – not going up past her natural crease. Make sure to blend this out so there are no hard lines or delineation from where the makeup starts and stops. One of my favourite neutral eyeshadow palettes is the Tarte – Amazonian Clay Matte Palette.

Eyeliner
My ONE BIGGEST TIP – something I do on all my clients – upper tight lining. If you haven’t heard of tight lining – it’s taking an eyeliner pencil and colouring in the waterline on the upper eyelid. The waterline is that little ledge between your lashes and your eyeball. Doing this makes your lash line look fuller and makes your eye colour really pop! This is also a very cool technique to get a nice full lash line without taking up that precious lid space.
Tight lining is even more perfect if you have more mature skin or have lots of fine lines, OR you just don’t have a steady hand and haven’t mastered eyeliner in general. Not doing eyeliner on top of your lashes on the actual eyelid eliminates “skipping” (when your eyeliner skips over any areas that have creases and creates gaps in the eyeliner). My favourite eyeliner right now is the Marc Jacobs – Highliner Gel in Blacquer.

Eyelash Curling
When curling lashes try to avoid doing just one hard squeeze – this puts stress on the lash in the same place and overtime can create lash breakage. Instead, you want to start at the base of your lashes and gently squeeze multiple times “pumping” your lash curler. After about 5-6 pumps at the base, slightly open the curler to release the lashes and move out JUST a tiny bit. Repeat this process all the way until you’ve reached the tips of your lashes. This method will ensure an even curl throughout the lash instead of an “L” shape bend.
Note* Make sure you have ALL your lashes in the curler when you start, you may need to maneuver your hand in different angles to get all those little lashes. Also – make sure your lash curler is CLEAN and the lash pad is round. Remove any old crusted makeup with some rubbing alcohol and if you notice you have splits in the rubber part – you need to replace the pad. (most curlers now come with replacement pads) Mac Cosmetics has a really good and inexpensive one.
Tip* Look for a lash curler that has a rounded rubber pad, some of the cheaper ones have a hard edge on the pad and that can cause breakage as well.
Foundation Prep
Jill has normal to oily skin so for her I love the Benefit Porefessional Primer – you’ll have to play around with primers that work best for your skin/skin type as there are so many out there. Applying face primer and doing “cleanup” are the only times I ever do a wiping motion with my beauty blender (all the other times are tapping and pressing motions). I squeeze out a pea size amount of primer onto my hand and then use the beauty blender to wipe it onto the skin. Think of this process as mudding a wall with drywall mud. You’re pushing the product into all the fine lines and pores to create a flawless even finish for your foundation to go on.
Foundation
I use many different foundations – depending on skin type, texture, current weather and the type of event my client is going to. In this video I used Light Wonder by Charlotte Tilbury. It’s got a nice satin finish and is a light coverage (Jill has really nice and even skin so I don’t want to go too full coverage). When choosing a foundation colour – you want to match your skin tone to your chest, your neck is usually lighter than the face and chest as your face blocks it from the sun. If you’re struggling between two colours – choose the lighter shade as it’s easier to add colour and warm up the skin as opposed to trying to blend out a darker foundation.
I apply liquid foundation with a brush and use my Beauty Blender to really press it into the skin and blend all the edges. Make sure to bring your foundation down onto the neck to ensure you don’t get floating head syndrome (when your face is a completely different colour than your neck and body).

Corrector
Color correctors are great for many different skin concerns – (you can read my blog on color correcting) But the main one people struggle with is under eye dark circles. I use the product Look Less Tired by Smashbox. It’s a little orange/peach stick that you use to counteract dark circles. I apply this directly from the pencil onto the blue/purple bits under the eye. Gently blend the edges out!
Note* Only apply the corrector stick where the actual blue/purple bits are – don’t apply around the area.

Conceal
The fun part! My all time favourite concealer is the MAC Cosmetics Pro Long Wear Concealer. It’s liquid concealer but drys like a powder and holds up really well over the course of the day! (Use a warmer undertone for the under eye area) Tap this product under the eye and bring it down onto the cheek bone and sort of like a v shape under the eye. Blend this out with the BB – Be sure you’re not dragging the brush or the sponge as you don’t want to move the corrector underneath.
Conceal any spots on the face that need concealing – you’ll likely want to use a cooler tone concealer for this as it’ll typically be blemishes and redness you’ll be covering.

Powder
Powder the under eye area with the Laura Mercier – Secret Brightening Powder For Under Eyes so it doesn’t crease. Pick some some powder with your Beauty Blender and push into the skin. Do the same for the rest of the face but use the Laura Mercier Translucent Loose Setting Power. I like to leave the excess powder on the face to settle in and move onto the brows.

Brows
There are so many good brow products out there – but two of my favorites are Anastasia Beverly Hills – Brow Wiz, and Charlotte Tilbury – Brow lift Pencil.
I start by drawing a guide line on the lower part of the brow and work my way upwards from that. Once that guide has been created – use the pencil to mimic hairs by making short little pencil strokes upwards. In my opinion – the head of your brows shouldn’t lean towards each other. The brow should go straight up, or angle slightly outwards. (see brow blog ) The only time the brows should lean inwards is if they’re fluffy stray hairs (not a heavy drawn on brow). Use the spoolie on the end of the pencil to brush out and soften the pencil lines.
You can use a lighter shade for the inside of the brow and a slightly darker shade near the tail of the brow – this can give you more dimension and definition without having too harsh of brows.
I finish Jill’s brows off with some coloured Brow Gel from Charlotte Tilbury – Not necessary for most but she has some greys in there and a pencil can’t cover that! You can also use clear brow gel if you have unruly brows and need help holding them in place.

Bronzer
After the brows are done – I take a fluffy powder brush and dust off the excess setting powder on the face. Then I take that brush and apply bronzer onto the high points of the face. High points are where the sun would hit normally – so when you’ve spent a couple hours outside and you notice your forehead, cheeks and nose are a bit pink, this is where you would apply bronzer. (Unless you’re Jill and you just apply bronzer to the entire face with no regard for proper placement or excessive colour LOLLL).
Start with the bronzer on the cheekbones/apples and move towards the temples, then bring it up onto the forehead/hair line – use what’s left over on the brush – I repeat WHAT’S LEFT OVER – and bring that down onto the nose. Do not add more bronzer to the brush as it will make your nose look too dark and muddy. You can also lightly dust the LEFT OVER product onto the chin and jawline. LESS IS MORE when it comes to bronzer. It’s so easy to over do it (another culprit of floating heading syndrome).
Blush
Blush is similar to bronzer in the placement on the cheeks. Start at the temples and bring onto the apples. Keep all your products at least 2 finger widths away from your nose. The placement of your blush should be a slighter smaller and more narrow area than the bronzer.

Mascara
Jill likes to do her own mascara for some reason – so I humour her…. and then I go in and remove all the mascara smudges she gets on her eyelids and nose haha.

Lips
Pretty self explanatory – I like soft neutral shades as I like the focus to be the eyes. My favourite lip product is the Glo Skin Beauty – Suede Matte Crayon – favourite colours are “Trademark” “Demure” and “Monogram”.
If you like to use highlighter – I tend to prefer to apply with my fingers and I rub it along the top of the cheekbone and down the bridge of the nose! Sometimes on the cupids bow of the lips too and accentuate the upper lip!

There you have it! I hope you enjoyed this post and learned a few makeup tips and tricks! Also, don’t forget to checkout Kaitlin’s brand new website as this is where she’ll be sharing everything she knows about beauty, her life, and all things makeup!
xo
Jilly


Thanks for the tutorial ladies! I always love how natural Jill’s makeup looks & appreciate a fresh face. Way to go Kaitlin & congrats on the new website launch – it functions beautifully!
Kelly
Hi Jillian
Sorry this has nothing to do with your makeup, but I just wanted to let you know that I contacted Earths Best to look into finding a place for the organic soy formula for sweet Annie. They gave me the following list of places to purchase it at: A & P, Co-Op, Goodness Me, Highland Farms, H.Y. Louie, Loblaws, London Drugs, Longo’s, Metro, Nesters Market, Overwaitea, Planet Organic, Quality Foods, Safeway, Shoppers Drug Mart, Sobeys, Thrifty Foods, Walmart, Well.ca, Whole Foods. {I hope that one of these retailers is not one that you have already checked}
Thank you so much for sharing your beautiful family with us. ♥️ I so look forward to your posts everday! ?
Sincerely
Marci
Thanks for sharing, always love a good makeup tutorial and tips and tricks are a great help! I’m never sure how to do bronzer so now I do!
I have hooded eyelids, what do you recommend for applying eyeshadow? I never use eyeliner because of it but would you just recommend tight lining?
Is all this makeup Jillian uses cruelty free etc.?
This is so helpful and generous of you to share!! Thank you many times over!!!
Thanks for sharing your tips. Pro Long Wear Concealer is my favorite too.
this is very nice information
Hey there, thanks for this beauty tips. We are looking forehead related informative content.
you are such a beautiful woman.
for lips I also like those soft neutral shades.
high five for this natural make up 🙂
xoxo
tina wimpernverlängerung
Perfect timing for this post! Appreciating the time and effort you put into your website and in-depth information you offer. You’ve really covered up almost all the possible info that every female should follow. Worth sharing! Please do continue sharing updates! Thanks for your help!