
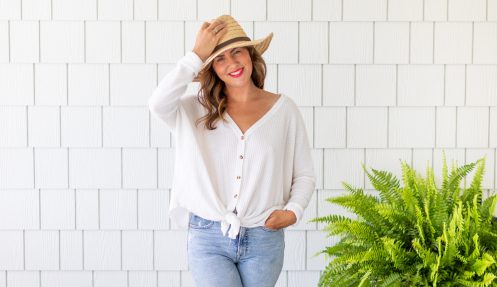


Morning everyone! I get A LOT of questions on the daily about photography, what camera and lens to use, what settings should be used … how to edit my photos, etc. So I turned to photography guru (and staging extraordinaire), Erin Sousa (founder of Sparkle Media) to help me answer some of your questions so today she is sharing 5 ways to step up your photography game with you and I’m SO excited about this!! Make sure to check out these stock photos so you can learn from them. So, without further ado …
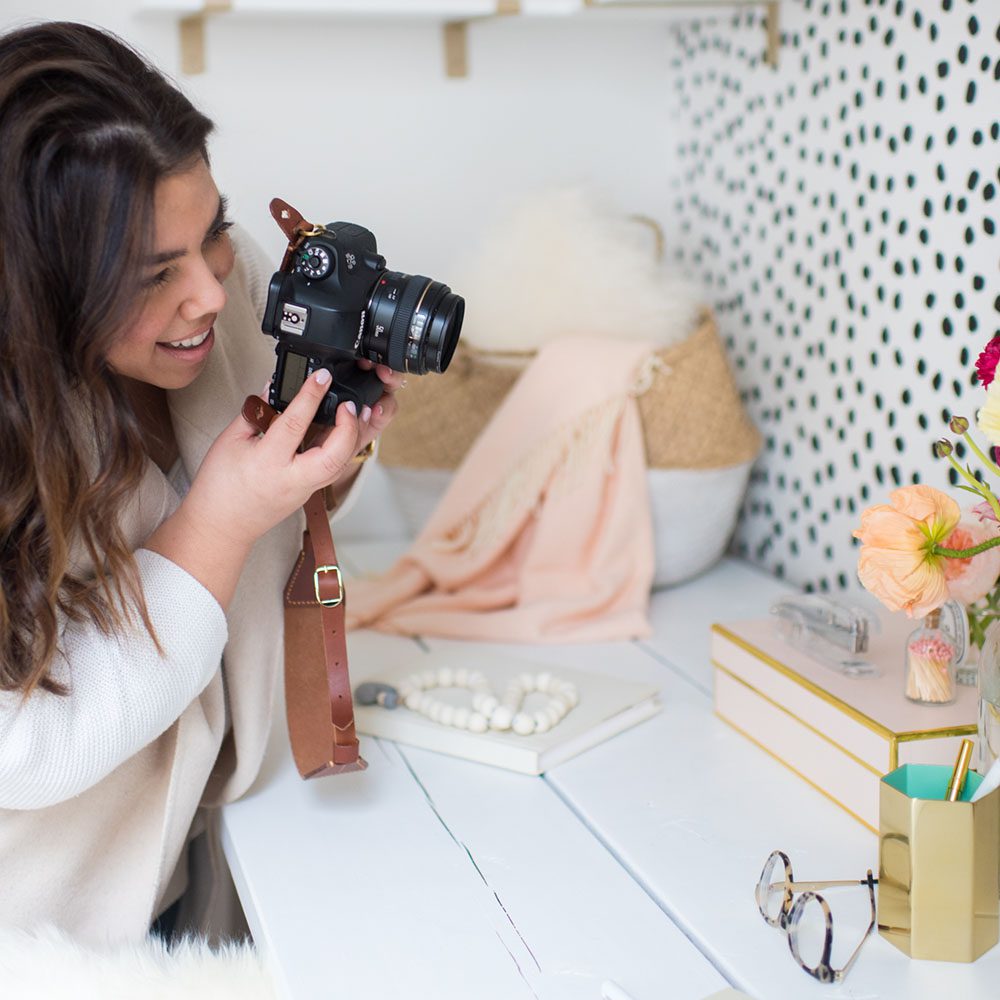
Hi everyone! Erin here! I have to say that photography is definitely one of my biggest joys in life, I just love to go to the photography studio and take lots of pictures! There’s nothing like styling, shooting and loving an image that you’ve created. After reading Elizabeth Gilbert’s book Big Magic (you must read this one, or listen to it as an audiobook like I did!), I have a belief that everyone is a creative person – we just all project it in our own way. I’m not a great painter, my drawing skills are horrible, my writing is questionable (lol), but photography allows me to create something I’m proud of and that gives me a real buzz.

I’m a forever student of photography – each time I shoot an image, I’m learning something new. I started my company, Sparkle Media, in 2013 back before visual content was really a “thing”. At first, we primarily offered social media content (this was back when Twitter was the primary social platform, and photos were not important!) and traditional PR, but soon, I had people inquiring about visual content more and more often. I started working with brands who wanted to grow, and an Instagram community, was a huge part of that growth … which meant brands needed loads of high-quality visual content. Before I knew it, I was offering photo styling, producing photo shoots, and eventually photography services, shooting content on an on-going basis for brands, and for myself.
I am a self-taught photographer which has meant a ton of trial and error, watching YouTube tutorials and practice! Over the last four years, I’ve probably taken hundreds of thousands of photos, the majority of which didn’t make the cut.
Each “photographer” has their own style and feel, and this comes from how they use their equipment, and lighting, styling, and editing – I’m fascinated by how the same tools can create such a different outcome depending on a person’s creativity. With that in mind, remember, this is your own little piece of art, and art is subjective. These tips will give you overarching ideas based on what I’ve found has helped me become a better photographer, so whether you’re reading this to take better photos of your kids, or to take better fashion blogging photos, I hope these 5 photography tips will help you gain a better understanding of photography!
1. Lighting is Everything:
I only use natural light for my photos, and I have never used flash. Natural light is essential to photos, and it gives your photos that fresh, crisp and airy look. This is something you cannot fake with any studio lighting. I always avoid shooting in direct sunlight – step into the shade or diffuse the light with drapes or fabric to block harsh lighting. Using a whiteboard or a reflective disk will help balance the light, and bounce it onto your subject, or can act as a shade when you need it.
2. Master Your Camera Settings:
Stick with me here, because this is the technical part of the process and playing around is the only way you’ll master your camera settings. Actually, I take that back, you’ll never 100% master it – circumstances like lighting, setting, materials are always variable, so every shooting scenario will be slightly different. Take that baby off ‘automatic’, set it to manual, and go to town!
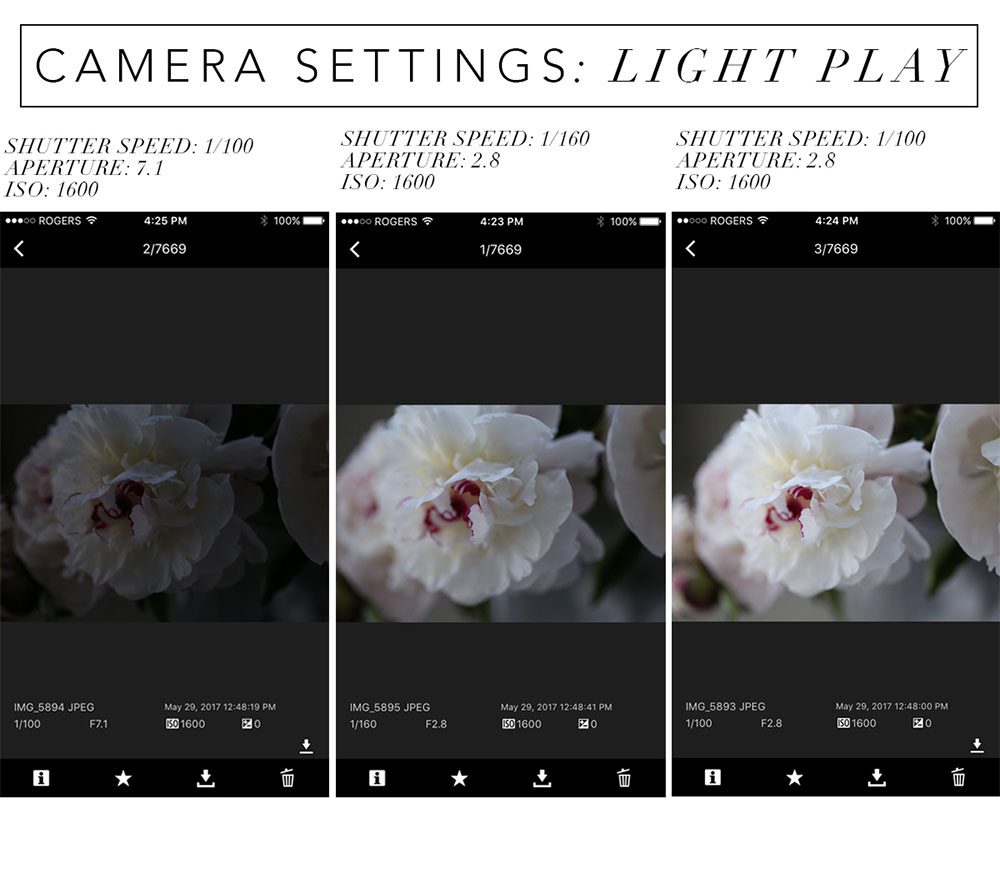
- ISO – determines how sensitive the camera is to light. The higher you bump the ISO, the more noise (graininess of your image). Therefore, try to stay at 600 ISO or below whenever you can, and adjust the shutter speed for light instead. There will be times you need to increase this number when you’re working with less light, as seen in the example here!
- Shutter Speed – is the exposure time, measured in seconds. 1/30 allows more light into the camera but will create more opportunity for motion blur than 1/200, which renders a sharper image since the shutter opens and closes much faster. This when it comes in handy to play with your ISO and aperture to bump up the brightness as needed. As a rule, I keep my shutter speed no lower than 1/100 unless I have my camera on a tripod to steady it.
- Aperture – is your focal length. The lower the actual number, the less depth of field (creating blurred background or bokeh). The larger the number is, the less light is allowed into the lens. For example, 2.8f creates less depth of field than 7.1f, and will also create a brighter image.
- White balance – auto white balance (AWB) is the setting I use most often, but I do adjust this depending on the situation – there is a grid you can adjust on most DSLR cameras slightly tweak the temperature and tint of the image. I use this slight tweak often depending on what light I’m in since the AWB isn’t very nuanced. You can further correct this in your editing process if need be!
The graphic above will show you how playing with your settings can create a different result. Try different things to get the shot. Often it will take me 10 – 12 shots to get something I’m happy with!
3. Composition:
To define what composition actually is will probably help you understand how to own it! Composition: the nature of something’s ingredients or constituents; the way in which a whole or mixture is made up.
A few ways to use composition to your advantage:
Rule of thirds: Use the grid setting on your camera or Smartphone, and position the point of interest on the grid intersection. This composition naturally appeals to the eye!
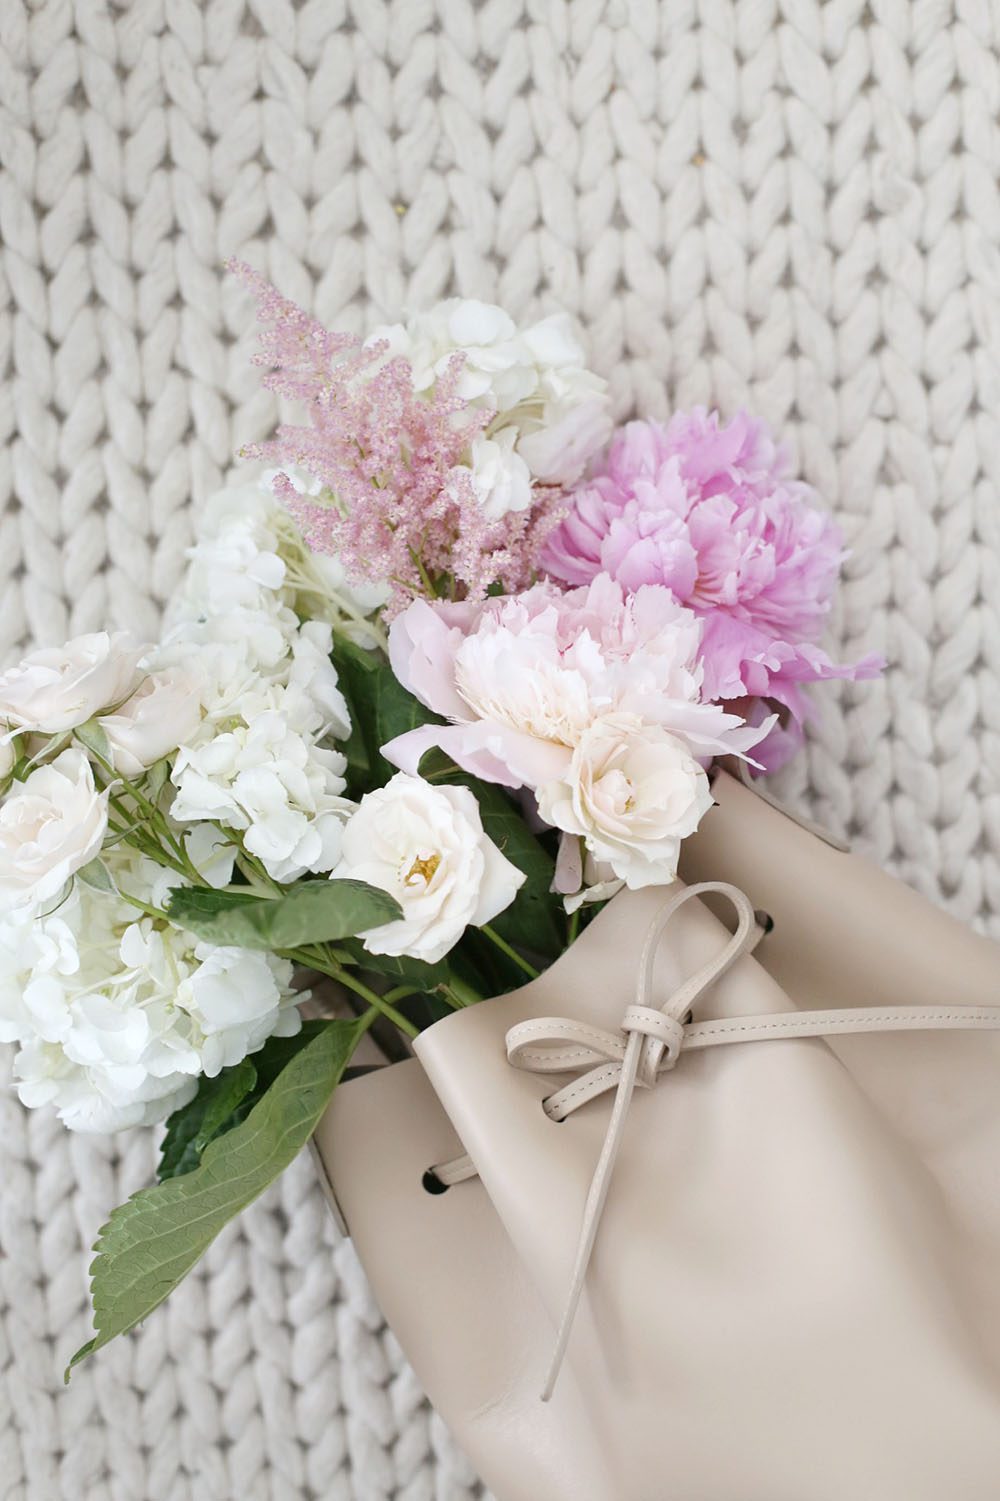
Frame: Get enough into the shot to tell the story. This balances your image. Oftentimes, I will shoot an image a little wider, and then crop it to the perfect frame during the editing process.
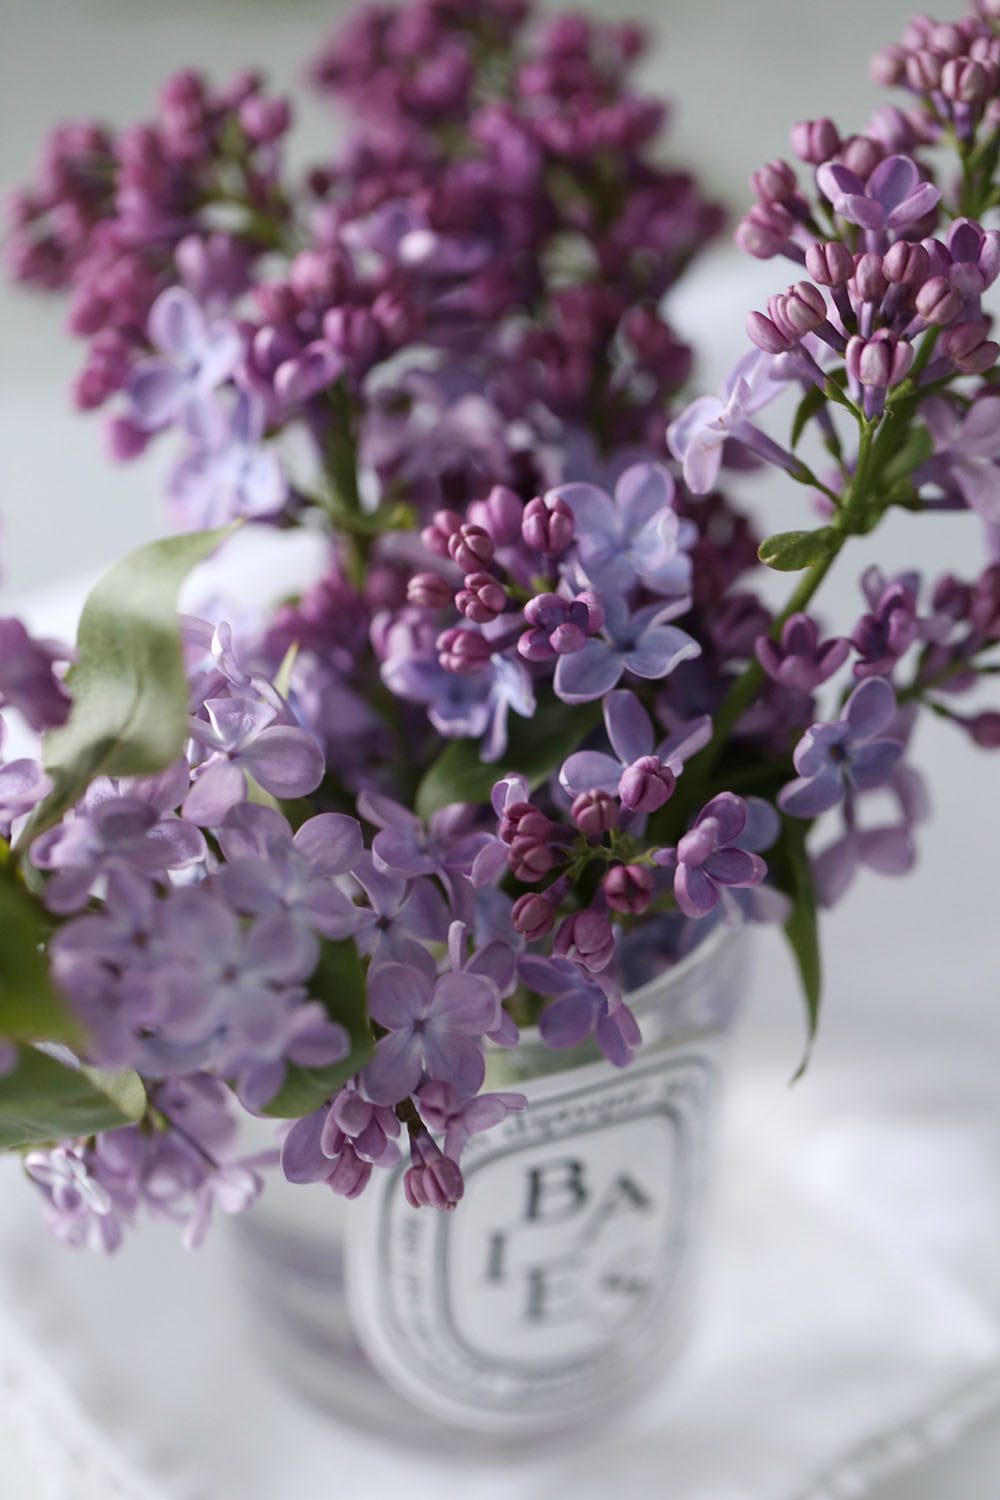
Groups of threes: When I’m shooting products or flatlays, just like with the rule of thirds, odd numbers of an item in a photo has been proven to be more appealing to the eye!
4. The Gear:
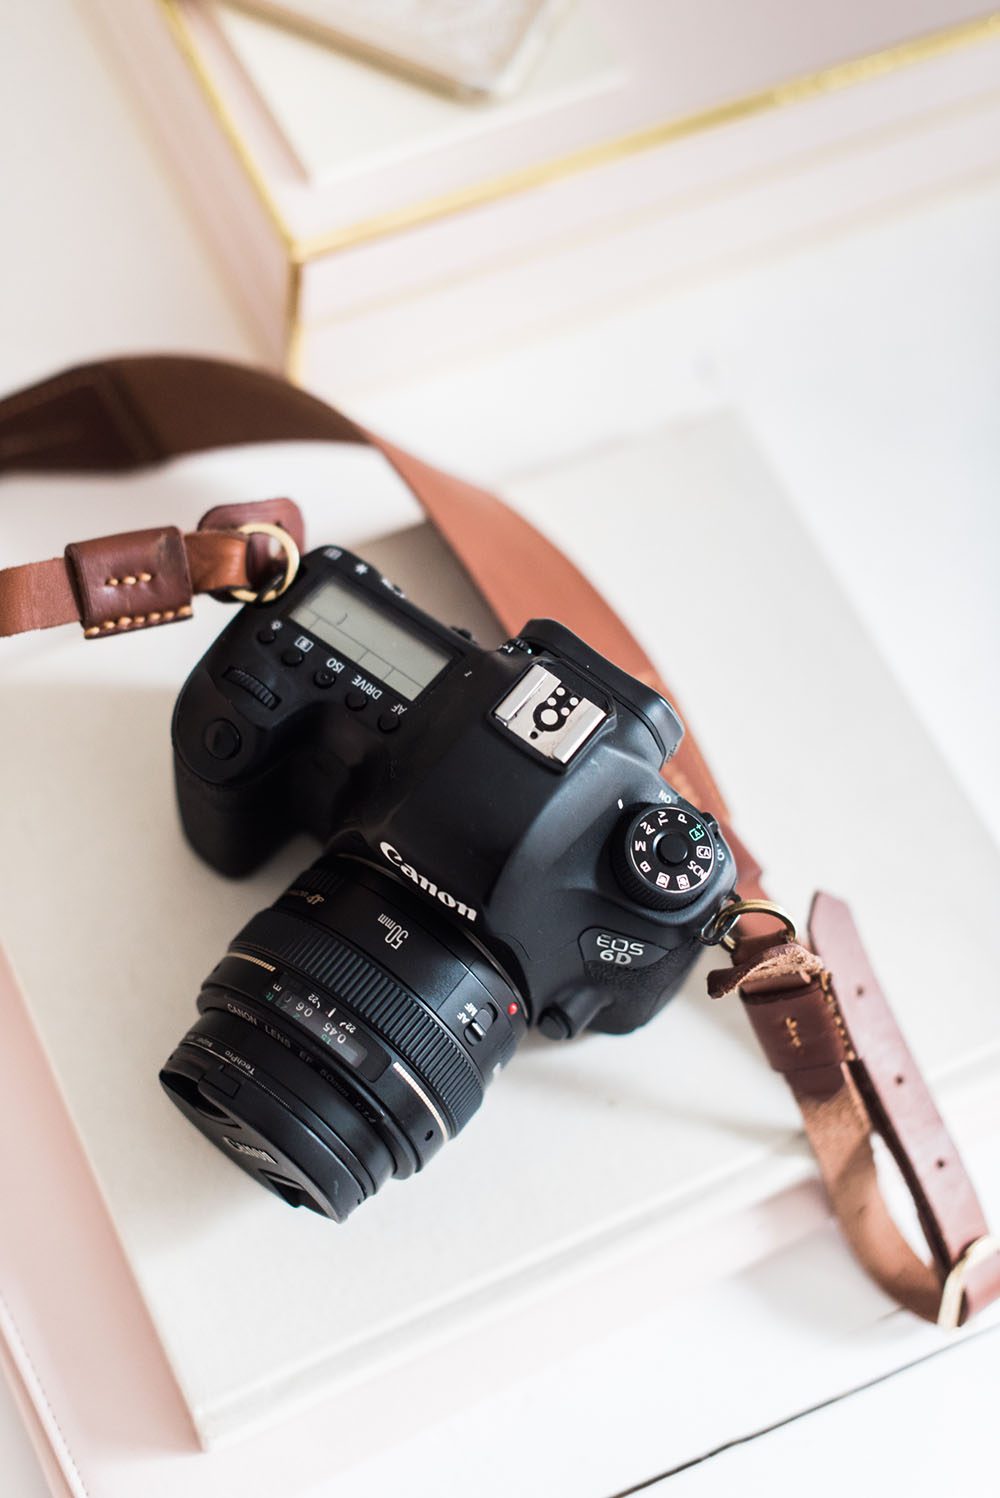
What you shoot with is an important part of getting a great photo, but it’s not the most important. You can get the fanciest, most expensive camera and lens, but it’s HOW you use it that matters. For that reason, I’m going to recommend what to buy at all price points. The top brands for professionals are probably Canon, Nikon, and Sony, but I use a Canon, so that’s what I’ll recommend here!
Starter Camera: Canon Rebel ($300 – $600 price range)
Advanced Camera: 70D, 6D ($1300 – $2000 price range)
Professional Camera: 5D Mark III, 5D Mark IV ($3000 – $5000 price range)

- 50mm portrait lens: Ideal do-it- all lens. 1.8 – 1.2f (the lower the aperture gives more depth of field, and they are also pricier. I shoot with a 1.4f!)
- 100mm macro lens: This is a lens for those up close shots and is currently my favourite lens to shoot with for the control of frame I can get with it and how well it lends to texture detail.
- 35mm: The 35mm lens I use is a Sigma lens and gives a wide frame – ideal of outdoor and interior room shots.
Tip: I started off with a 70D, and upgraded last year to a full-frame 6D. I sold my 70D to my sis for a great price (I’m too nice! haha), but you could easily get 75% of the value back if you sell it in good condition on Craigslist. Even though I changed cameras, my lenses can be interchanged between any Canon model, so there’s no risk in building my lens collection. Make it rain lenses! I also love the look of a leather strap as opposed to the one that comes with the cam. My fave is from Hello London Designs!
P.S: something I can’t recommend enough is a camera with Wi-Fi capability – it allows me to take a great photo, and then transfer it via Wi-Fi to my iPhone for social posting on-the- go.
*prime lens means these do not zoom
5. Editing Your Images:
I try to shoot my images in as close to ideal as I possibly can, but every photo needs editing! One thing I’ve learned over time is that it’s better to shoot a little darker than too bright – you can add brightness in editing, but you can’t remove it effectively.
I love to use Snapseed on my iPhone to straighten, crop, brighten, sharpen on the go, and use Lightroom on my laptop to edit other images. Team Jilly loves Pic, Tap, Go and another popular app is VSCO, so find one that you like best!
6. BONUS TIP: Practice Makes Perfect:
This is not a throwaway tip! I cannot stress enough how much practice plays into it! I can see a huge difference in the quality of my images from a year ago or even from six months ago. I am super passionate about shooting, and oftentimes will just create something and play with shooting in my spare time, honing my eye and finding new ways to shoot. There is so much more to photography, but this guide should help you improve your photos, so have fun snapping away!
xo

Saving this for later! I’m getting the EOS Rebel T6 in the next few months! Thanks Jillian and Erin!
This is such a great post with some seriously amazing tips! Lighting is key – and I agree so much that practice makes (closer to) perfect.
Jackie at Something About That
Great post! I recently got a camera gifted to me and am loving trying to figure everything out. Thanks for the tips. 🙂
I’d love to see a post on styling. I’ve been trying to take pictures of my baking recently, but unfortunately we have dark counter and barely and natural light in our apartment. It’s been hard getting good pictures.
Where are your pants from?:)
My workout pants from the other post?? They’re from Nordstrom!! Here’s the link http://rstyle.me/n/cpin7wzb96 XOXO
Great tips. I feel very passionate about photography. I’m always trying to learn more about it and improve as much as I can. Unfortunately I don’t own a proper camera. I take all of my blog photos with my phone which worked quite fine but I’m definitely saving for a real camera. xx
Antonia || Sweet Passions
This is a great article! I am self taught and have been shooting for just under a year and this is a perfect summary of everything I have learned so far!!
Hi! Love this post! I’m a photography lover. Curious where you found your beautiful camera strap? Thanks!
Hi Lindsay!! It’s from Hello London Designs on Etsy! Here’s the link http://rstyle.me/n/cpin68zb96 XO
These are amazing tips! Visual content is absolutely essential, and I love working on my photography skills. Thank you so much for sharing!
You’re so welcome!! XOXO
Great tips! Indeed, lighting is everything, and natural light is the best. However, we have to disagree on this one thing: if you have big enough studio lights/modifiers, natural light can be faked.
Love to read your post, so beautiful and thanks for this share, I also find that when you are shooting on an overcast day, custom white balance is especially important. Every day is completely different for color, and that color depends on two things. First, the time of day, as most people understand white balance and how it changes throughout the day. Second, you have to account for all of the wonderful things that light has to pass through before it hits your subject. Hope this might have point in making great photos, Cheers!
Really helpful, thanks! I find keeping my photos looking consistent is really tough!
In your Instagram story the other day you mentioned which tools and filters you use most often in your edits (using the apps you mentioned). Can you please repeat? The story disappeared
Also, I’m trying to comment using my iPhone and I can’t see the comment box because the next post is layered on top of it – seems like a bug, thought you should know! Xoxo
Hi Karen! I use FaceTune and PicTapGo to edit my photos and I arrange them in Planoly! XOXO
Oh my goodness! A tremendous article. I am continually browsing online for tips that can help me. Thank you! You are a very persuasive writer.
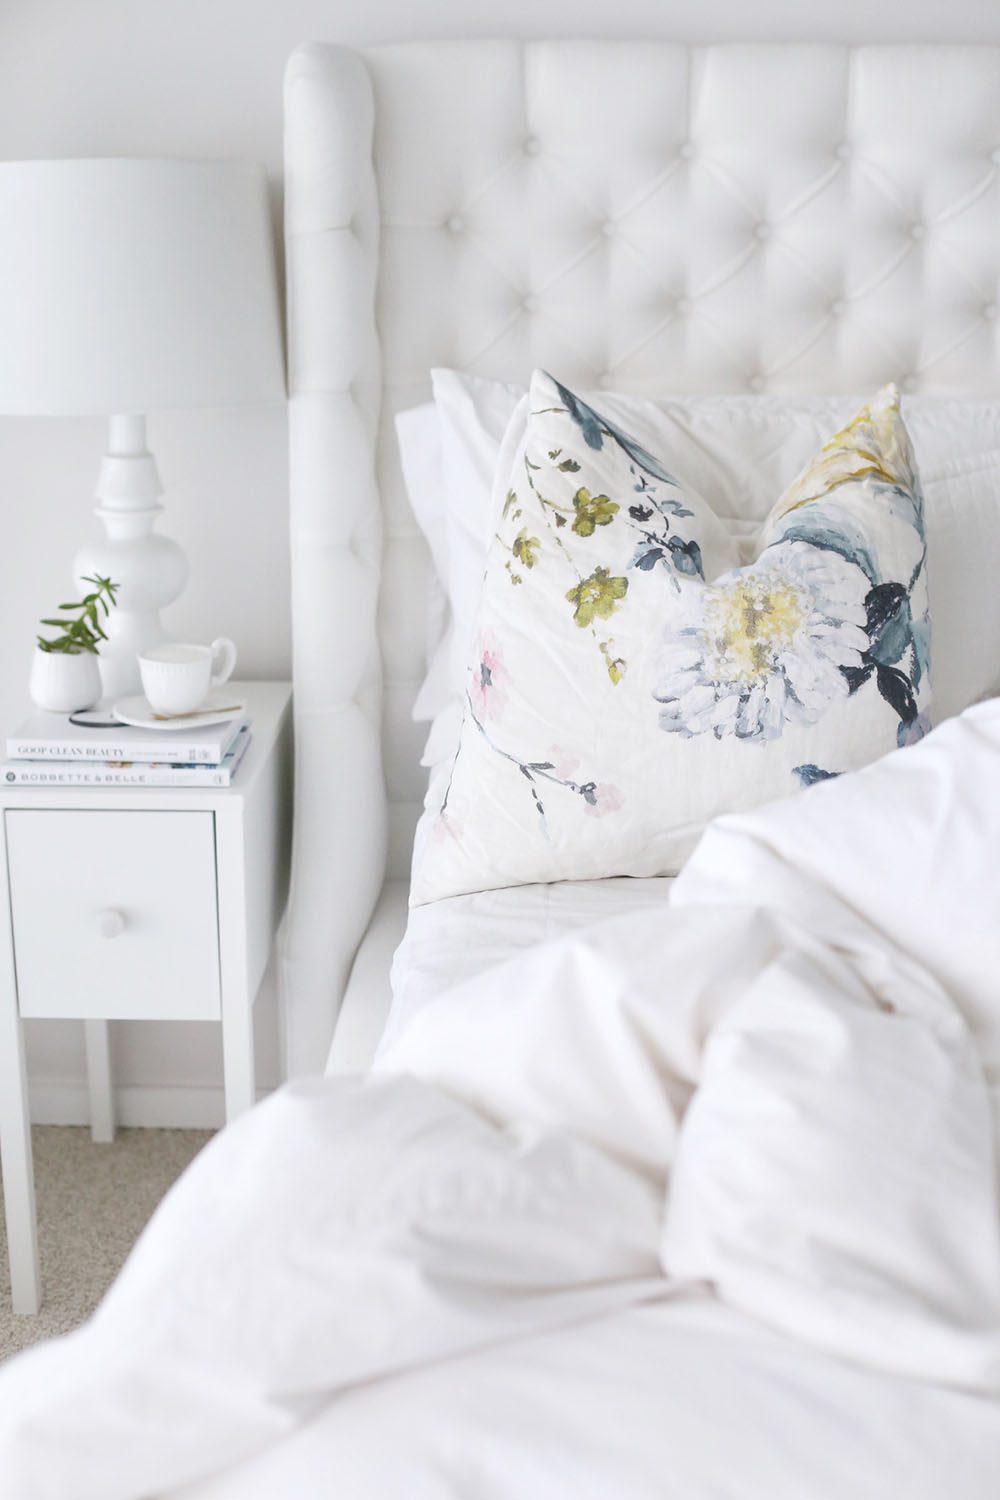
I absolutely love your style and styling! Can I ask where your floral pillow is from on the master bedroom picture of this post? Thank you in advance!
Hi Megan! That’s actually Erin Sousa’s home!! I’m not quite sure where she got her pillow from! xoxo
Hey Erin, great tips! A couple things to add to your gear recommendations ( which are spot on, BTW) is for lens selection, those starting out with an APS / crop frame camera body, should be aware they’ll want to invest in full frame lenses from day one, so they’re not stuck with not being able to effectively use their future delicious full frame sensor down the road. Second would be to touch on ND and circular polarization filters! Great article, looking forward to seeing more!
Joe Bishop
Hello!
I love every part of this blog post!
I wondered if you had any go to sources for flatlay backdrops, ie: marble, white wood, etc? I know your counter tops and tables are pretty steller for this 🙂
Yes!!! I have a slab of marble that we use and we also ordered some coloured backdrops as well!!